Discover how to turn the set of photos of your face into 3d pumpkin, using 123d Catch and Blender. The next step could be to print it and scare the hell out of your friends! If it sounds insane – let’s get started.
[video_embed][/video_embed]
But before we get started with shooting, let’s pick up some things that we’ll need.
1. Prerequisites
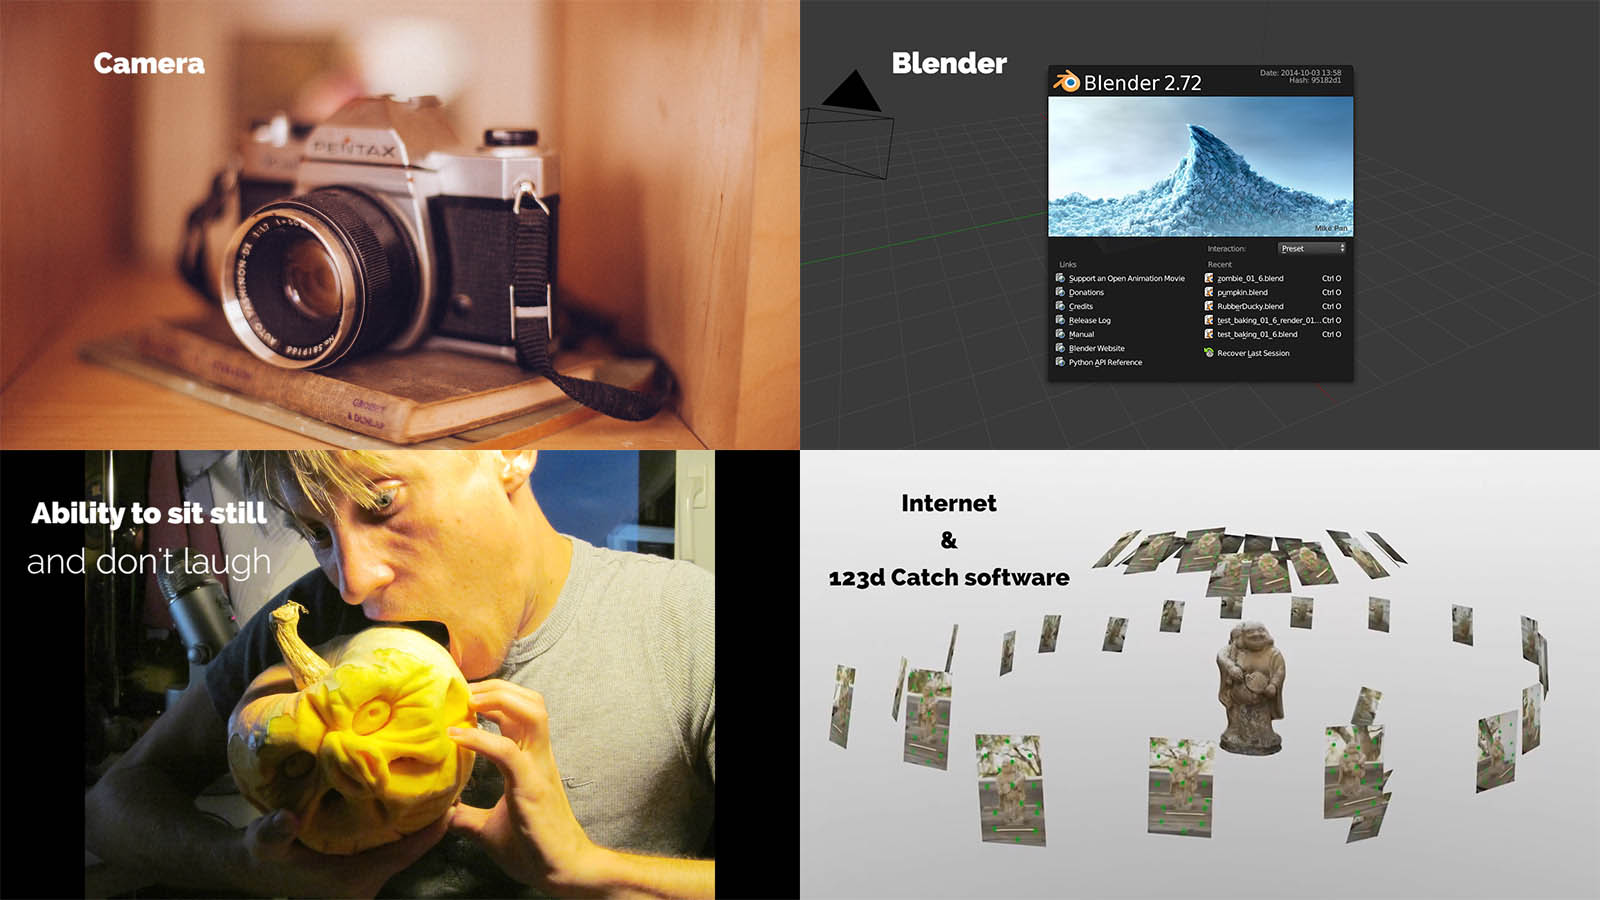
We need a camera, Blender, internet connection and 123d Catch free software. Oh, you’d better also have an ability to sit still while wearing a crazy face for 5 minutes, without laughing. I’m dead serious, you WILL laugh, because it’s ridiculous.
2. Camera tips
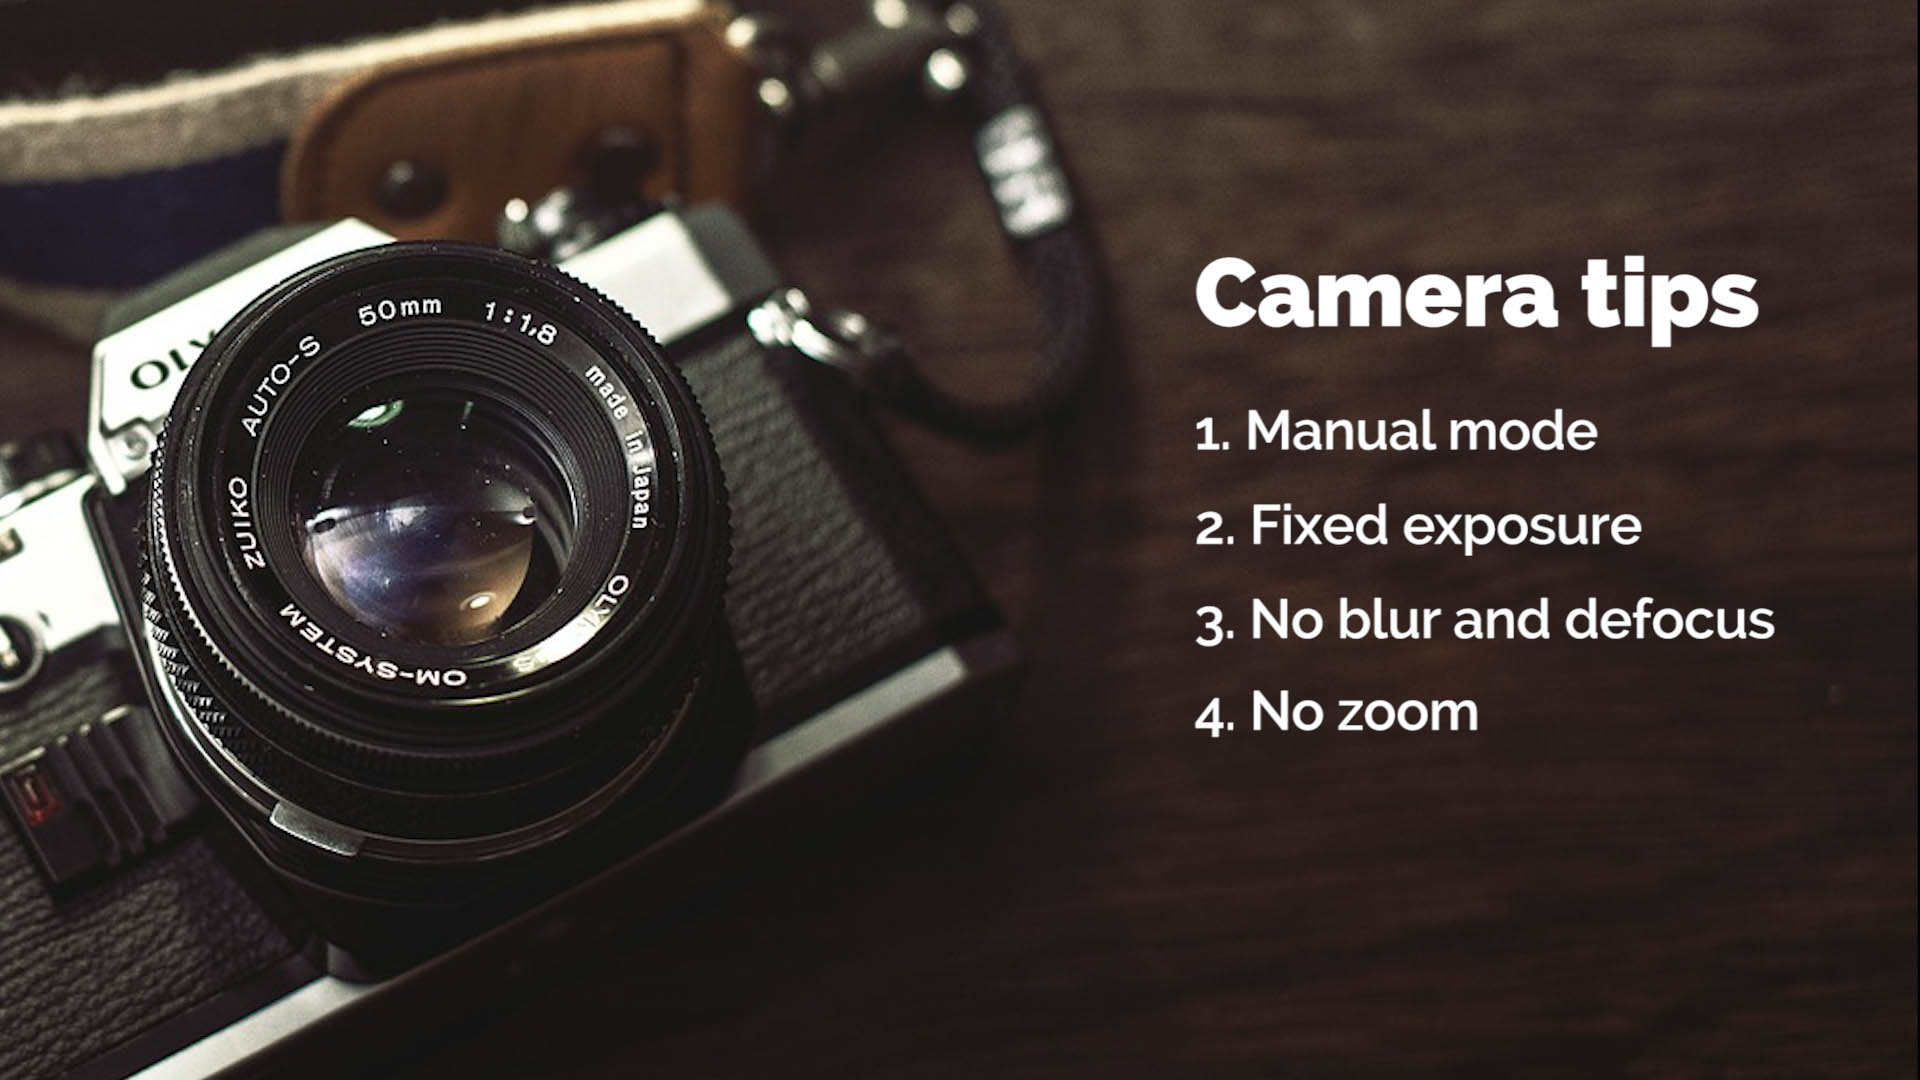
Switch off the auto mode, or whatever it’s called. Why? 123d Catch will try to calculate the position of certain points in all photos in 3d space. We should help it by making the photos in such way as if they come from the same set. The differences in lighting, in model or in focal length may confuse the algorithm. And as a consequence, we’ll get a mess (and not a 3d pumpkin).
Tip: reflective surfaces doesn’t translate well into 3d model using this method, because they are view dependent.
So, to recap things one more time: no zoom, no soft focus and no swapping the face expression.
Here are some Tips for a Successful Shoot by Autodesk, if you want to know the details of photogrammetry process.
3. 123d Catch
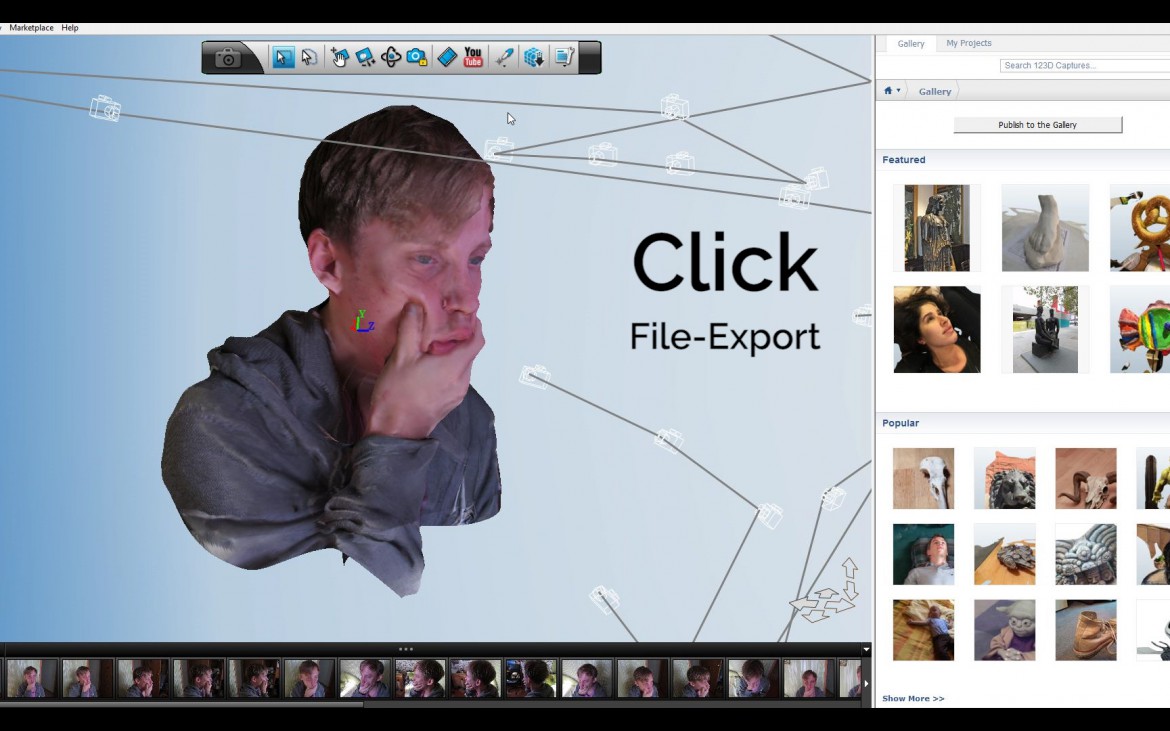
Go to 123dapp.com/catch and download PC version (or just use the web app).
Create a new capture, upload the photos and wait for it to process. If you have followed the rules and haven’t changed your Scary Face to another Scary Face, 123d Catch will take you this far.
After processing is done, you can tweak the quality of the mesh in the Generate Mesh menu.
Finally, you can export the model to .obj format.
4. Blender fun
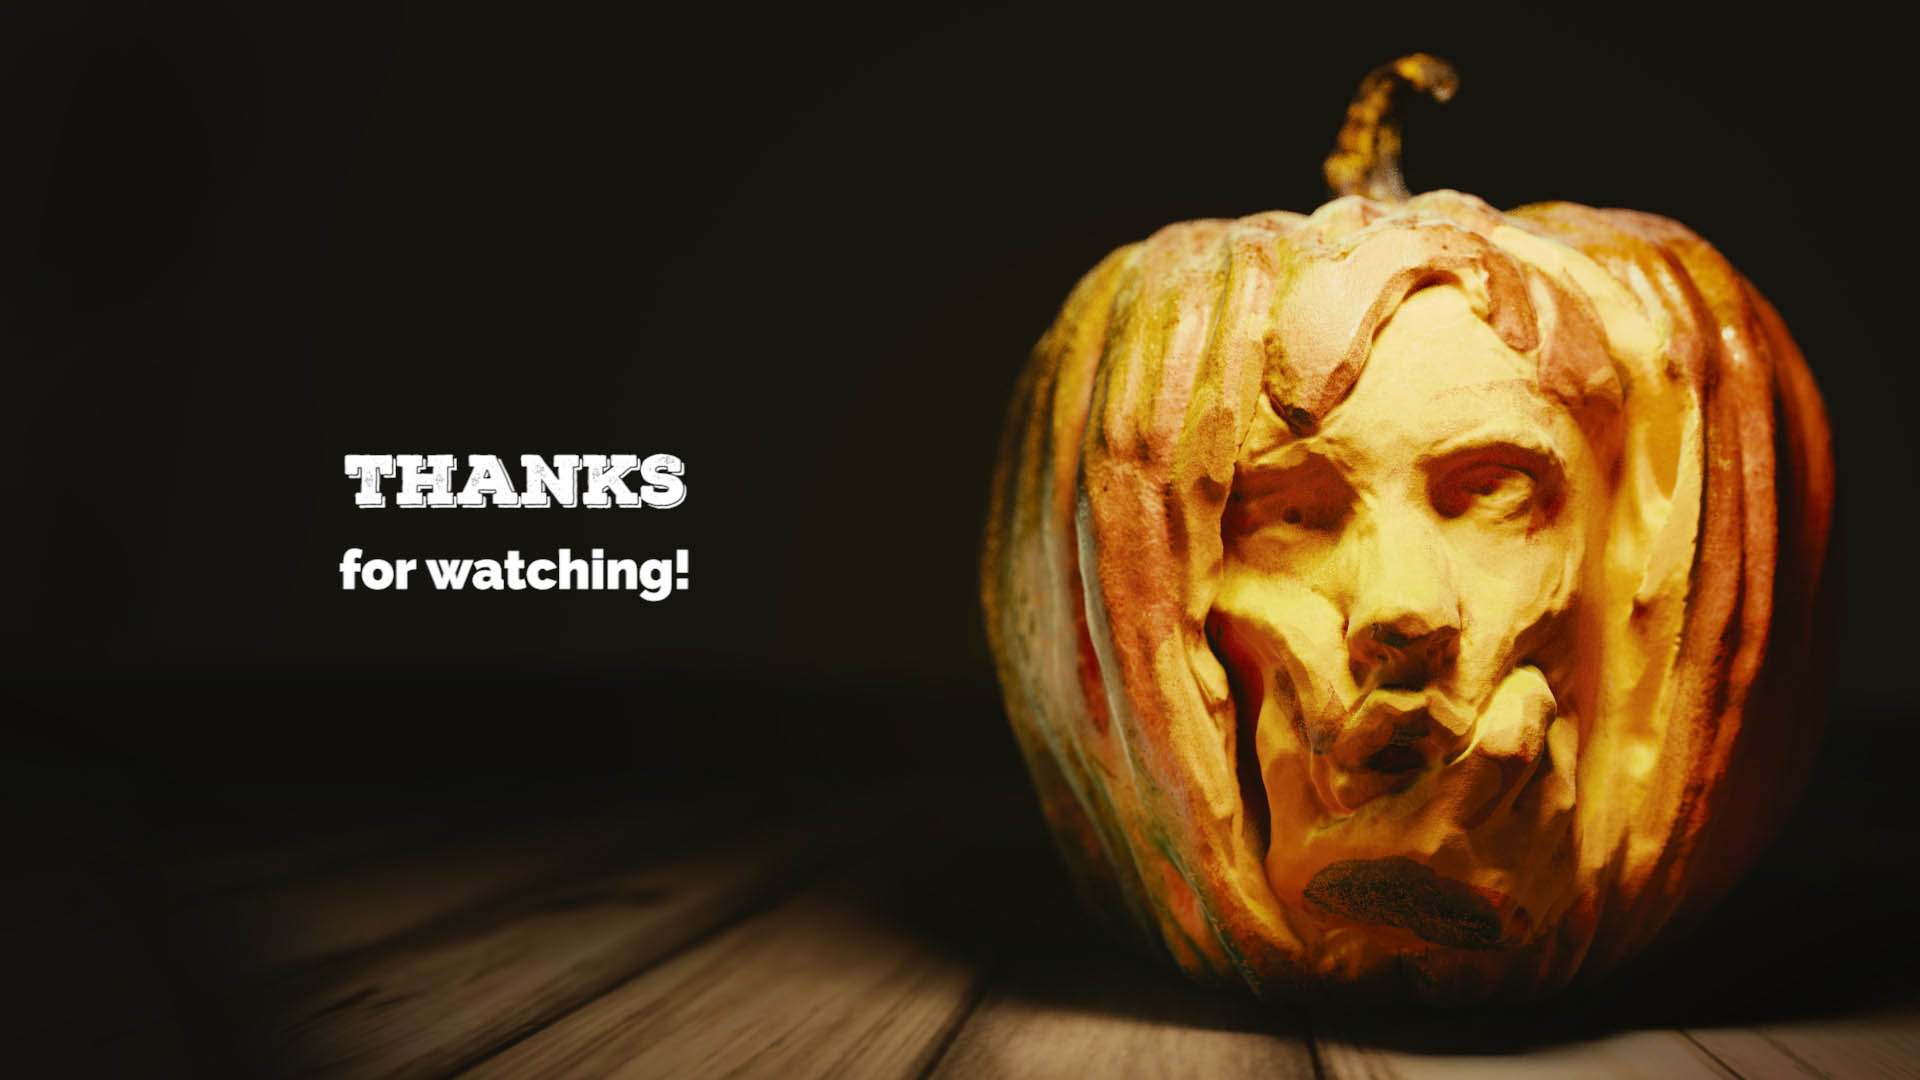
The rest is a matter of blending the face with a pumpkin and sculpting details. I’d suggest downloading the pumpkin from Blendswap.com to save you some time. But if you’re up to the challenge, make your own pumpkin, I’m fine with it.
Just don’t forget to turn on the Dynamic Topology, to make the sculpting process look like we’re carving a real pumpkin.
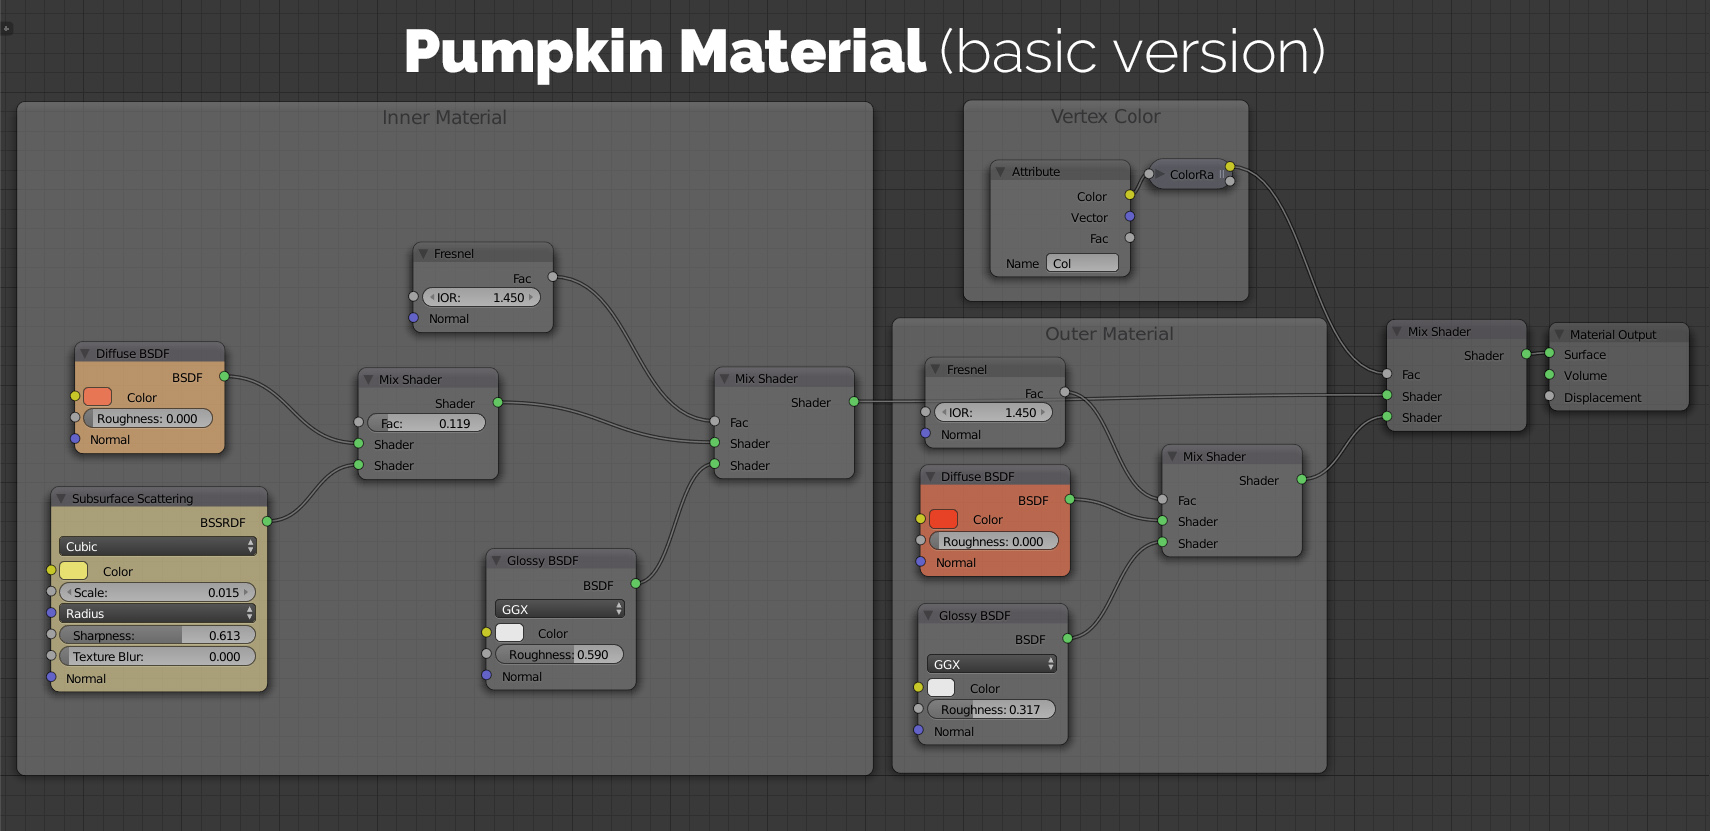
Here is a small Halloween bonus: pumpkin material. You know, it’s orange.
If you are inspired by this Halloween madness: show me your 3d pumpkin by uploading the images to comments!
Because your feedback and images is like coffee for me. Makes me happy.
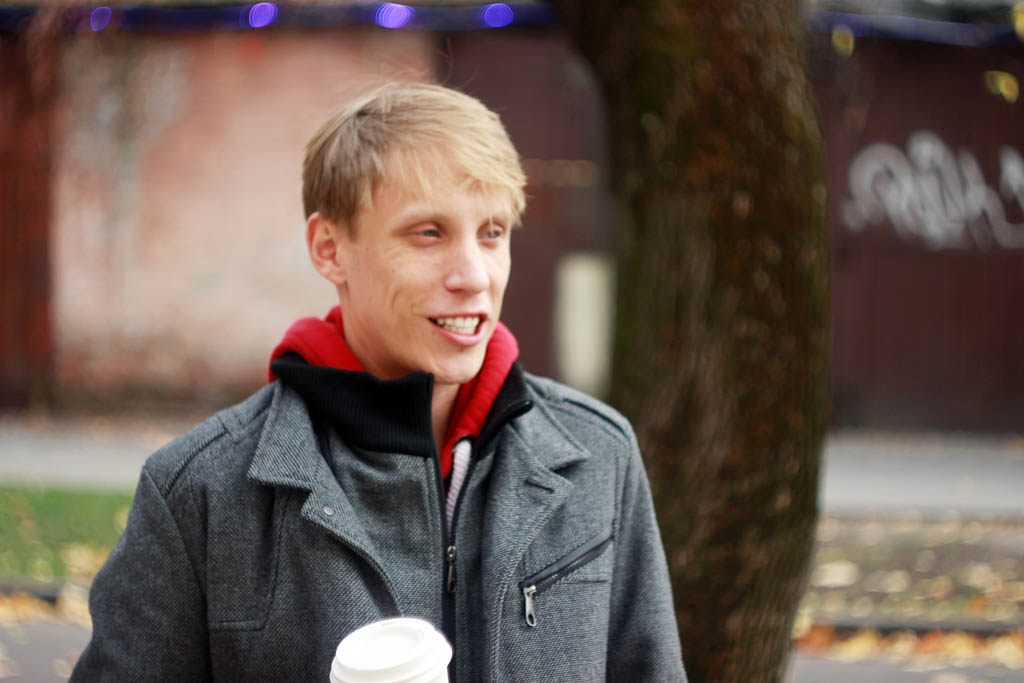



Samir Rahamtalla
Hi Gleb! Nice Idea and great tips in general. Thanks for taking the time to make them!
Samir Rahamtalla
Hi Gleb! Nice Idea and great tips in general. Thanks for taking the time to make them!
Pingback: 3d Scan Your Face and Create a Pumpkin
Gleb Alexandrov
Hey, that’s a lot of fun 😉
anonme
Nice tutorial. How do I get the diffuse BSDF shader into the node editor
? I have applied a lambert(diffuse material) to my pumpkin but when I
open the node editor nothing shows up. If I check “use nodes” a material node and output node show up but I don’t get the diffuse BSDF or SS (BSSRDF) shaders.
Thanks!
Gleb Alexandrov
My guess is that you use Blender Internal renderer. These shaders are Cycles only.
anonme
Ah yes, that will be it, thanks! Do you also know why when I sculpt my pumpkin on the front of the model the back of the model also gets modified ?
anonme
Nice tutorial. How do I get the diffuse BSDF shader into the node editor
? I have applied a lambert(diffuse material) to my pumpkin but when I
open the node editor nothing shows up. If I check “use nodes” a material node and output node show up but I don’t get the diffuse BSDF or SS (BSSRDF) shaders.
Thanks!
Gleb Alexandrov
My guess is that you use Blender Internal renderer. These shaders are Cycles only.
Pingback: 自顔を3Dスキャンし無料ソフトで作るオリジナルパンプキン!Blenderチュートリアル映像!
Yorch Tanuz
I’m an OS X User and could find any 3d photogrammetry software that actually works for my, Any advise? thx in advance!
Pingback: Here Are 3 Main Benefits of Doing Stupid Things