“In my restless dreams, I see that town. Silent Hill.”
Chances are, you were shocked by the eerie atmosphere of Silent Hill game. Or maybe you watched the movie and it touched you.
If you are hooked by Silent Hill, wouldn’t it be cool if you can recreate it in artwork?
But how?
You will be surprised how easy it is. You just need to make a 3D scan of your own city in Photoscan and then add fog in Blender.
Steps of the Tutorial:
1. Scout a Creepy Location
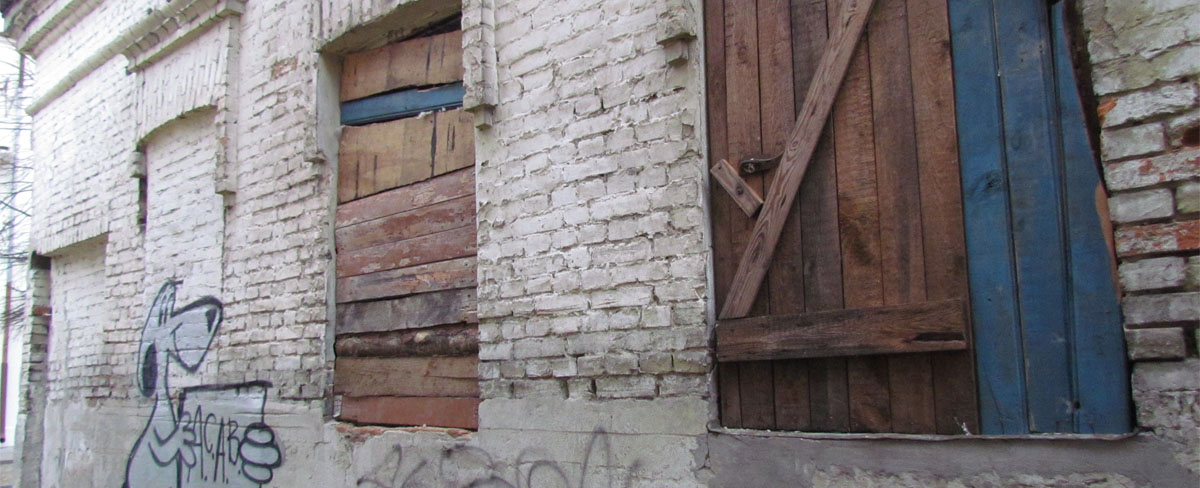
2. Wait For a Shitty Weather
3. Go to Location and Take Photos

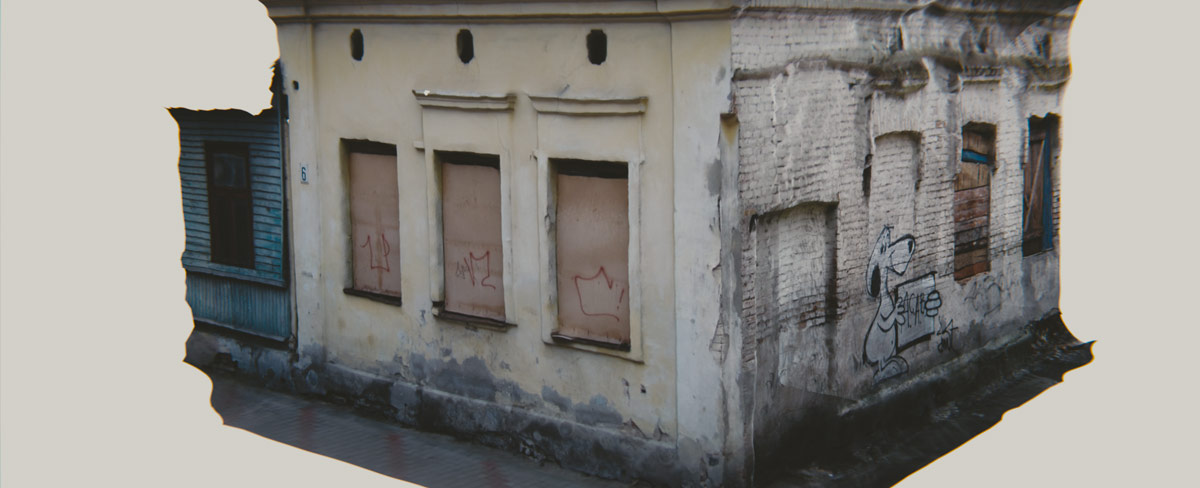
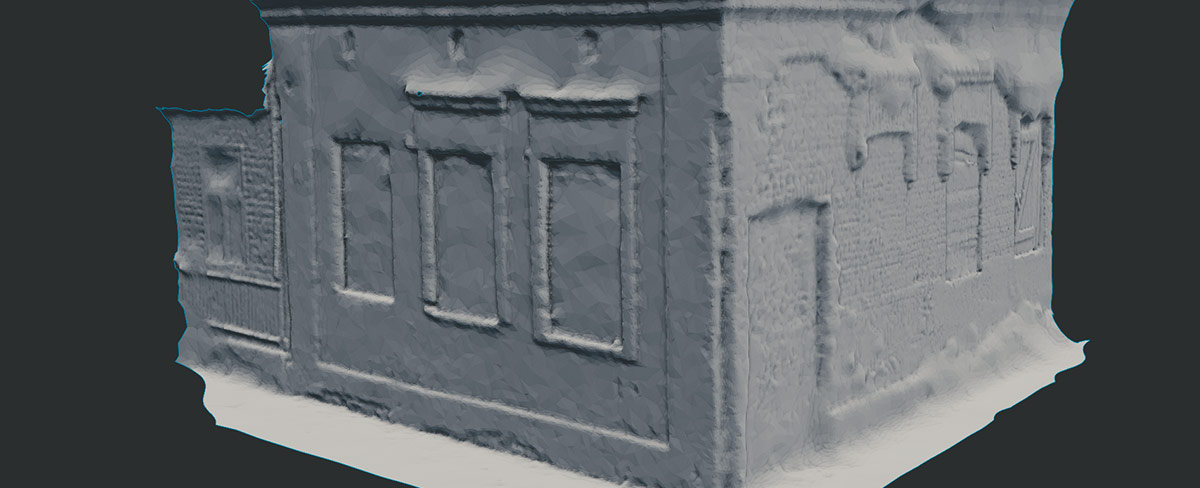
4. Process Photos in Photoscan
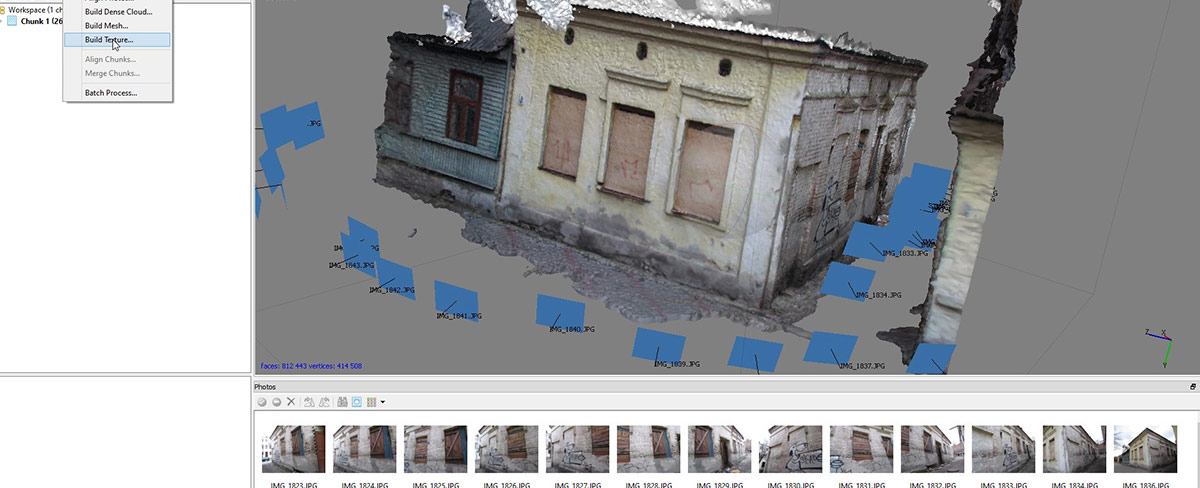
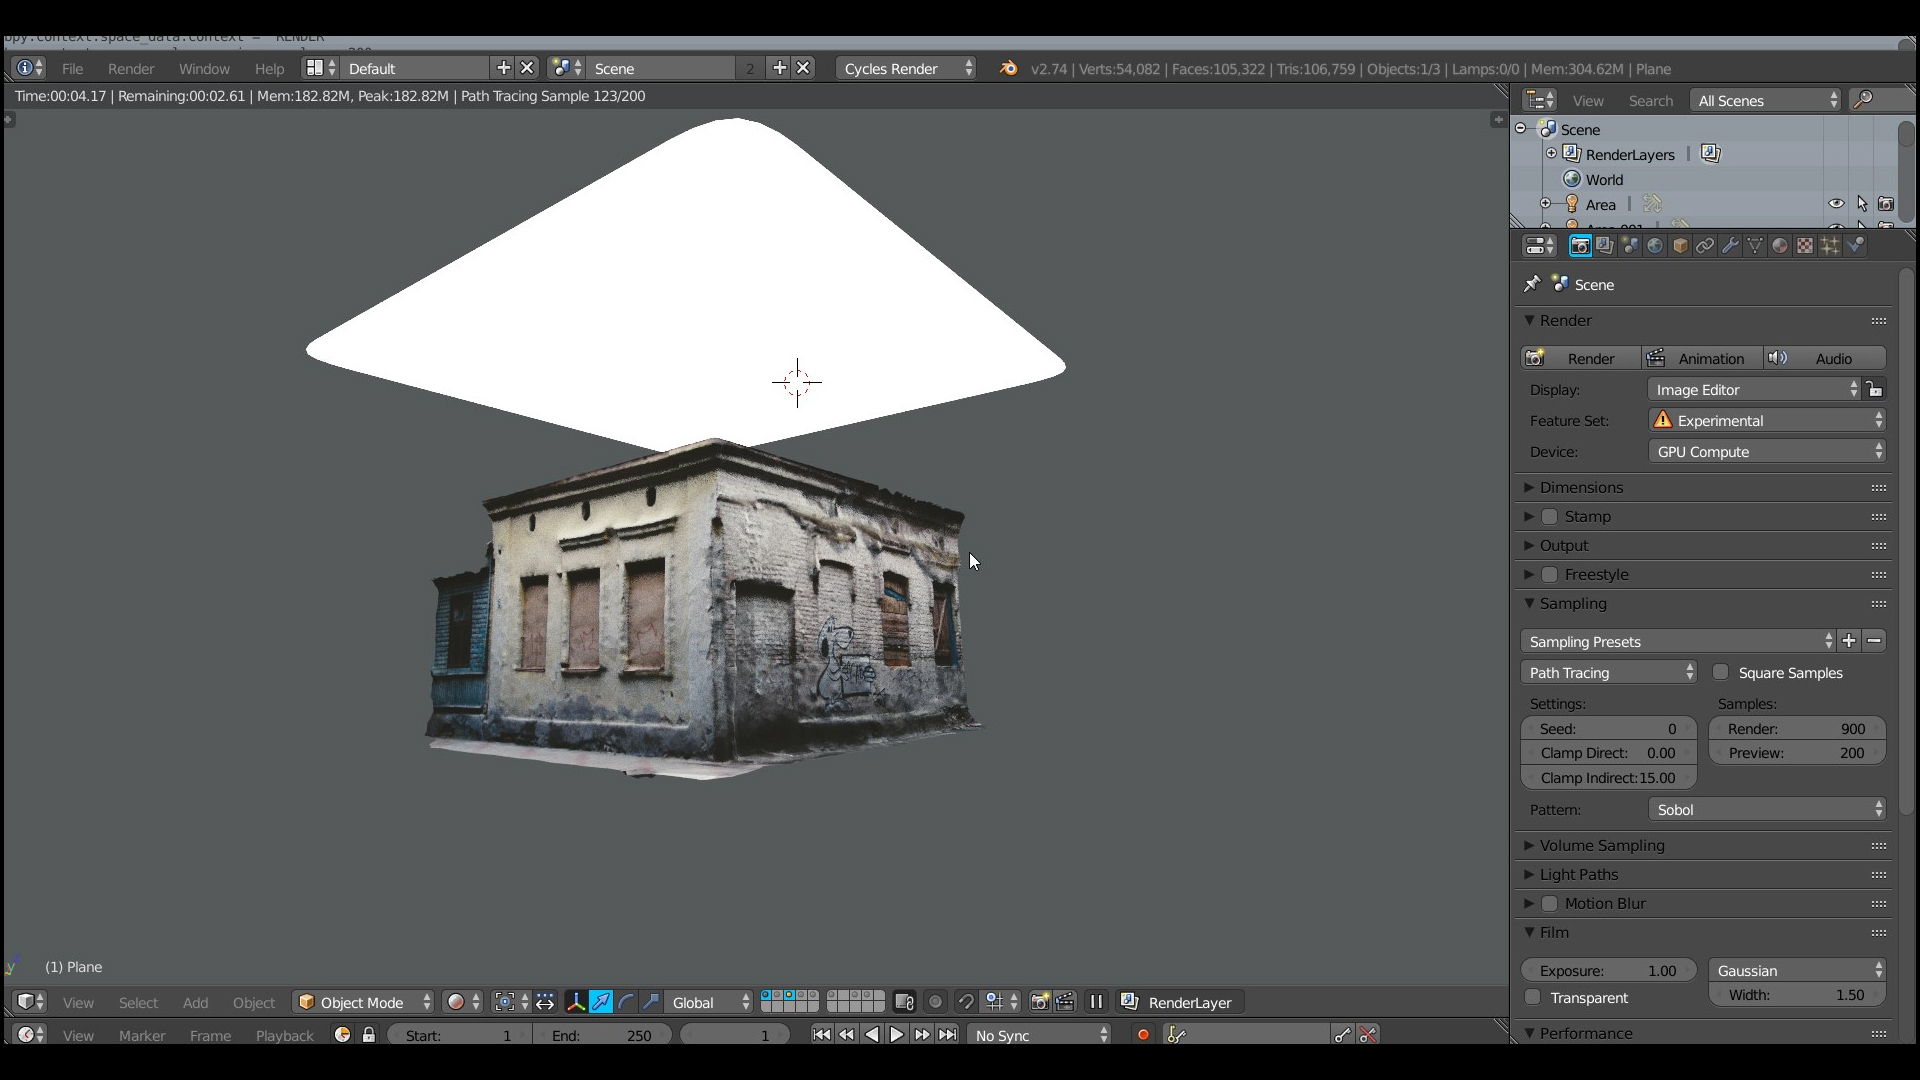
5. Import 3D Model Into Blender
6. Decimate
7. Add a Light
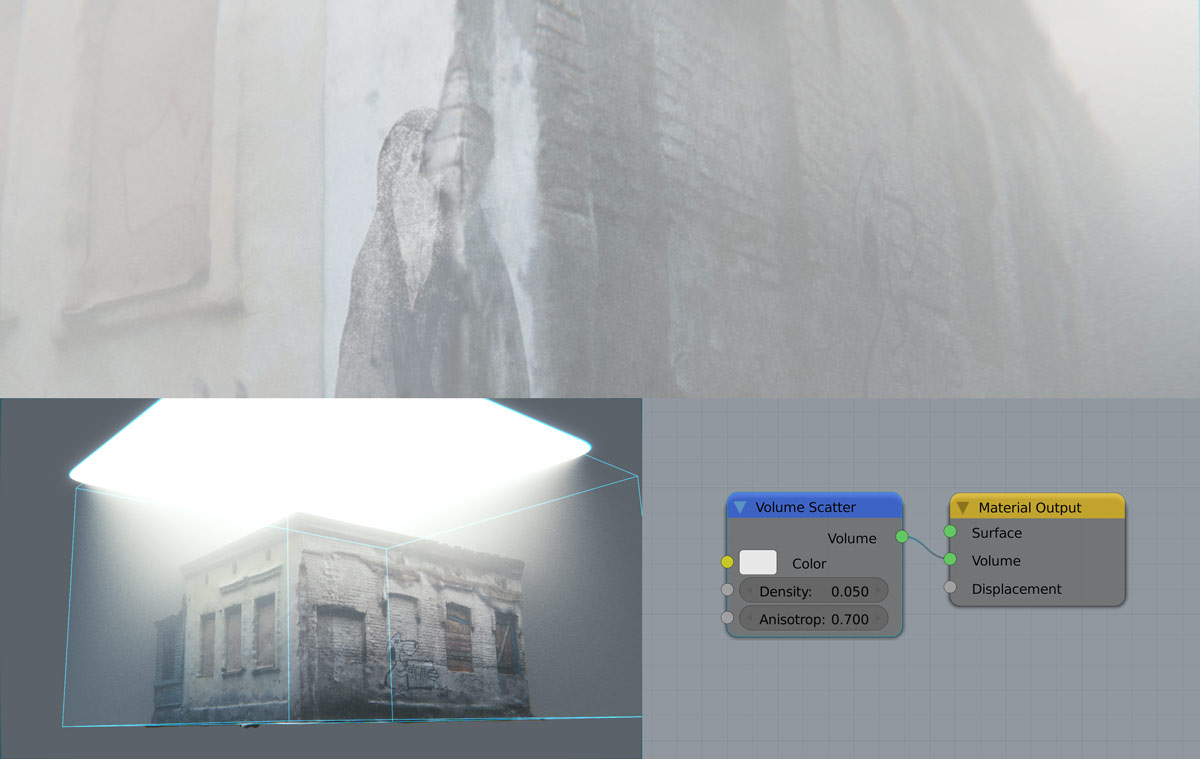
8. Unleash the All-devouring Fog
You May Also Like:
Classy Dog Photoscan Tutorials and Tips
Be sure to check Classy Dog Youtube channel for in-depth Photoscan tutorials.
[video_embed][/video_embed]




Regus Martin
PhotoScan looks like a truly phenomenal program. Now to find myself $179 usd.
Plus maybe a bit more ram for such density of meshes 😉
Gleb Alexandrov
Agree, photoscan is pretty sensitive to ram.
kilbeeu
http://ccwu.me/vsfm/ + meshlab and simple reconstruction like in this example will look just as good. and you get better control over the process actually.
Gleb Alexandrov
Thanks for the info! Can visualFSM handle textures?
kilbeeu
visualFSM can export raster layers to meshlab, then you can project them to reconstructed mesh. so baiscally yes, you can handle texture with this workflow.
Gleb Alexandrov
Yep, like in this tutorial: https://www.youtube.com/watch?v=ZRTEMKS3Sw0
I’ll try to test it myself (mainly to test the texture resolution that we can achieve).
kilbeeu
check this one out too then https://www.youtube.com/watch?v=Nsl0fUtc2ug
still after watching these i feel there is a room for improvement, since meshlab turned out to be very powerful and versatile tool.
and this is a test i ran some time ago https://www.youtube.com/watch?v=Izc8Vx-wBmQ
and while photoscan and 123d catch give good results out of the box, it’s vsfm+mlab that give you the most control over polycount and texture size.
Tylor Huebner
Love step #2. I don’t think anyone could have said it better Gleb.
Gleb Alexandrov
Haha, glad you like it. Funny but true 🙂
Java
“Step 2, wait for shitty weather” Lovin it!
Gleb Alexandrov
🙂
Pingback: How to Create Your Own Silent Hill in Blender and Photoscan
Guest
No mention, but I assume you used the 179 version? Not much information on their site what the difference is. They state they have Standard and Professional, and when you look at their license it is Stand – Alone and Educational. Not very clear. Do you know?
Jon Bowden
Can I ask what camera you used?
Gleb Alexandrov
Sure, Jon. It was just some low-end Canon (around 200$) 🙂
Jon Bowden
Cheers
Alex Kelly
Interesting workflow but honestly wouldn’t it have been quicker and easier to shoot some pics of the building and then model a mesh / UV texture – as its essentially a box? A cleaner and faster quad mesh rather than a gazillion triangles 😉
Gleb Alexandrov
Alex, you are right, that’s often the case. But not always.
For example, these buildings are not exactly boxes:
http://www.creativeshrimp.com/wp-content/uploads/2015/04/fog_passage_01_1.jpg
http://www.creativeshrimp.com/wp-content/uploads/2015/04/fog_house_01.jpg
But yeah, your way to do it is fine too.
Alex Kelly
You are right too of course. It is a cool process and the results speak for themselves.
Ian
What did you light the scene with? Just a sun lamp?
Gleb Alexandrov
Yes, just an area lamp.
Ian
Okay, thanks!
Ross Franks
Awesome tutorial as usual and am excited to give it a go (just got some food photographed). What I’d like to see next is if you can retopologise the mesh so that it’s low poly but yet easily apply the texture that was made for the high poly model.
Gleb Alexandrov
Ross, you can retopologize mesh (imported from Photoscan) in Blender, then export it back to Photoscan and rebuild the texture.
Ross Franks
Oh thanks Gleb I’ll have to try that out, is it fairly easy to do or is there a tutorial that shows you how to do it? (I’m still waiting on my install download email from agisoft)
AP
Cheers Gleb ! As always mind blowing tutorial 🙂 I got idea for you… It would be cool if you create images library so we could use them for photoscan. Lot of ppl would pay for this I think !
Gleb Alexandrov
Cool idea! Tnx, mate 🙂
Sven
Thanks Gleb!!
Discovered you website recently (fresh new Blender user coming from Maya) :).
Just so you know you can decimate right inside Photoscan (the best solution for Photo based photogrammetry to me) and it works really well.
My personal workflow is:
-Decimate in photoscan
-Import in blender and Retopo the object/scene (blender is so good at this!!!)
-Use the Bake option in the render tab (with selective to active) to project back the textures from the scan to the retopo!!
Loving your serie on lightning.
Gleb Alexandrov
Nice workflow!
We can also do this way:
– Import in blender and retopo the object
– Export .obj
– Import retopologized .obj back to Photoscan project
– Regenerate textures
Jean-Marc
Again, awesome ideas. When I import my model in Blender it is properly textured under the Blender Render but if I switch to Cycles Render the texture dissapears. What am I missing?
Stevo
Cheers Gleb! Here’s what I made of your tutorial. Thanks & keep up the good work!
Gleb Alexandrov
Stevo, I like it! Thanks for sharing 🙂 What city is this?
Stevo
It’s my hometown Schwäbisch Hall, Germany. Beautiful city! If you ever have the chance, come visit! Especially if you like old medieval buildings.
Here’s a pic without fog. 😉
Gabor Somogyi
It’s fantastic Gleb, I just got started with photoscanning! But what if I was to decimate it far enough to get it to a game engine? All work well except the unwrapping is messed and I can’t seem to be able to bake normals/curvature/AO etc. off of the Photoscan generated high poly to a retopologized low-poly (like I normally do) :/ Any advice/hint would be appreciated! 🙂