Learn the basics of Low Key Lighting to create dark scenes, full of drama and mystery.
Abandoned Blackwood Manor at night? Alien infested spaceship? Film Noir style close-up? Possibilities for this dark-side setup are endless, especially if you appreciate the constraints of less is more principle.
What is Low Key Lighting?
Last time, we discussed high key lighting. In this tutorial, it’s time to move on from cheery, bright images to their complete inverse.
When you see a pitch-dark scene with a stroke of a sharp and strong direct light, illuminating a figure from the side or the back – no doubt you see low key lighting.
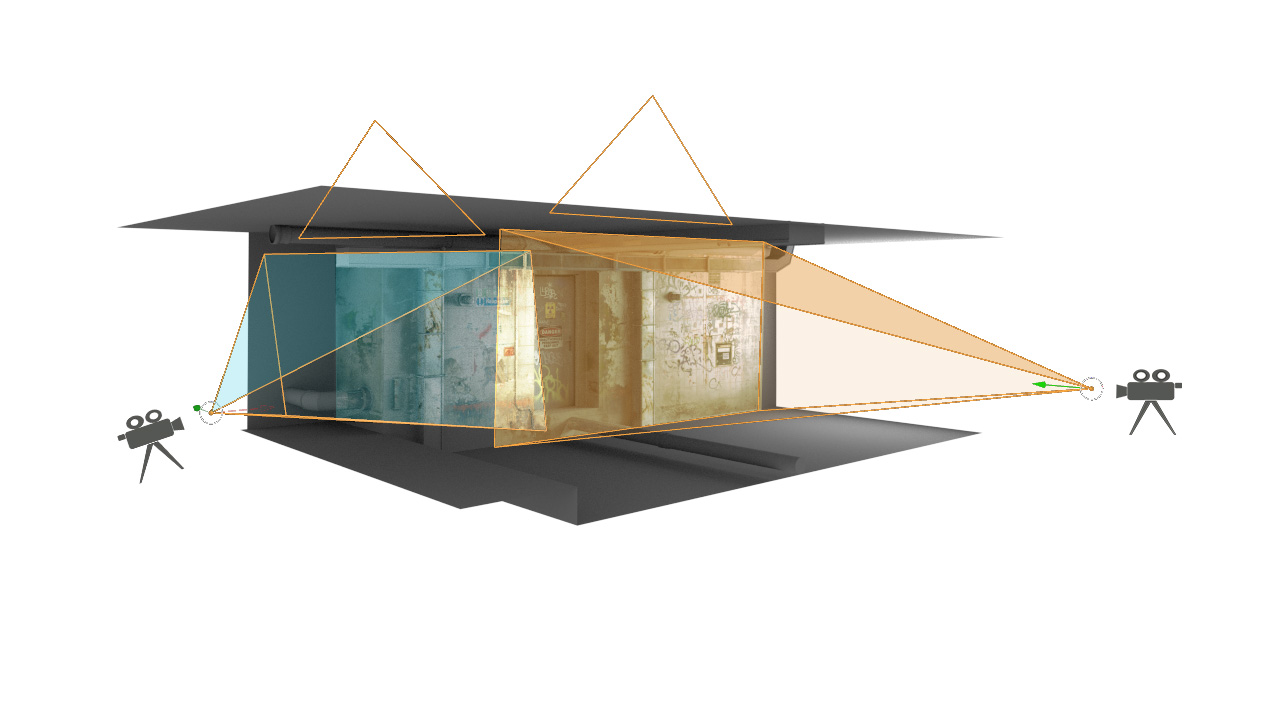
When you travel from Silent Hill foggy surface to hellish underground, you start in high key, but end up in low key lighting scenario.
Film Noir most of the time unfolds in low key lighting situation, like a crime scene dimly lit, nevertheless featuring a harsh spotlight and a murderer’s shadow on the wall.
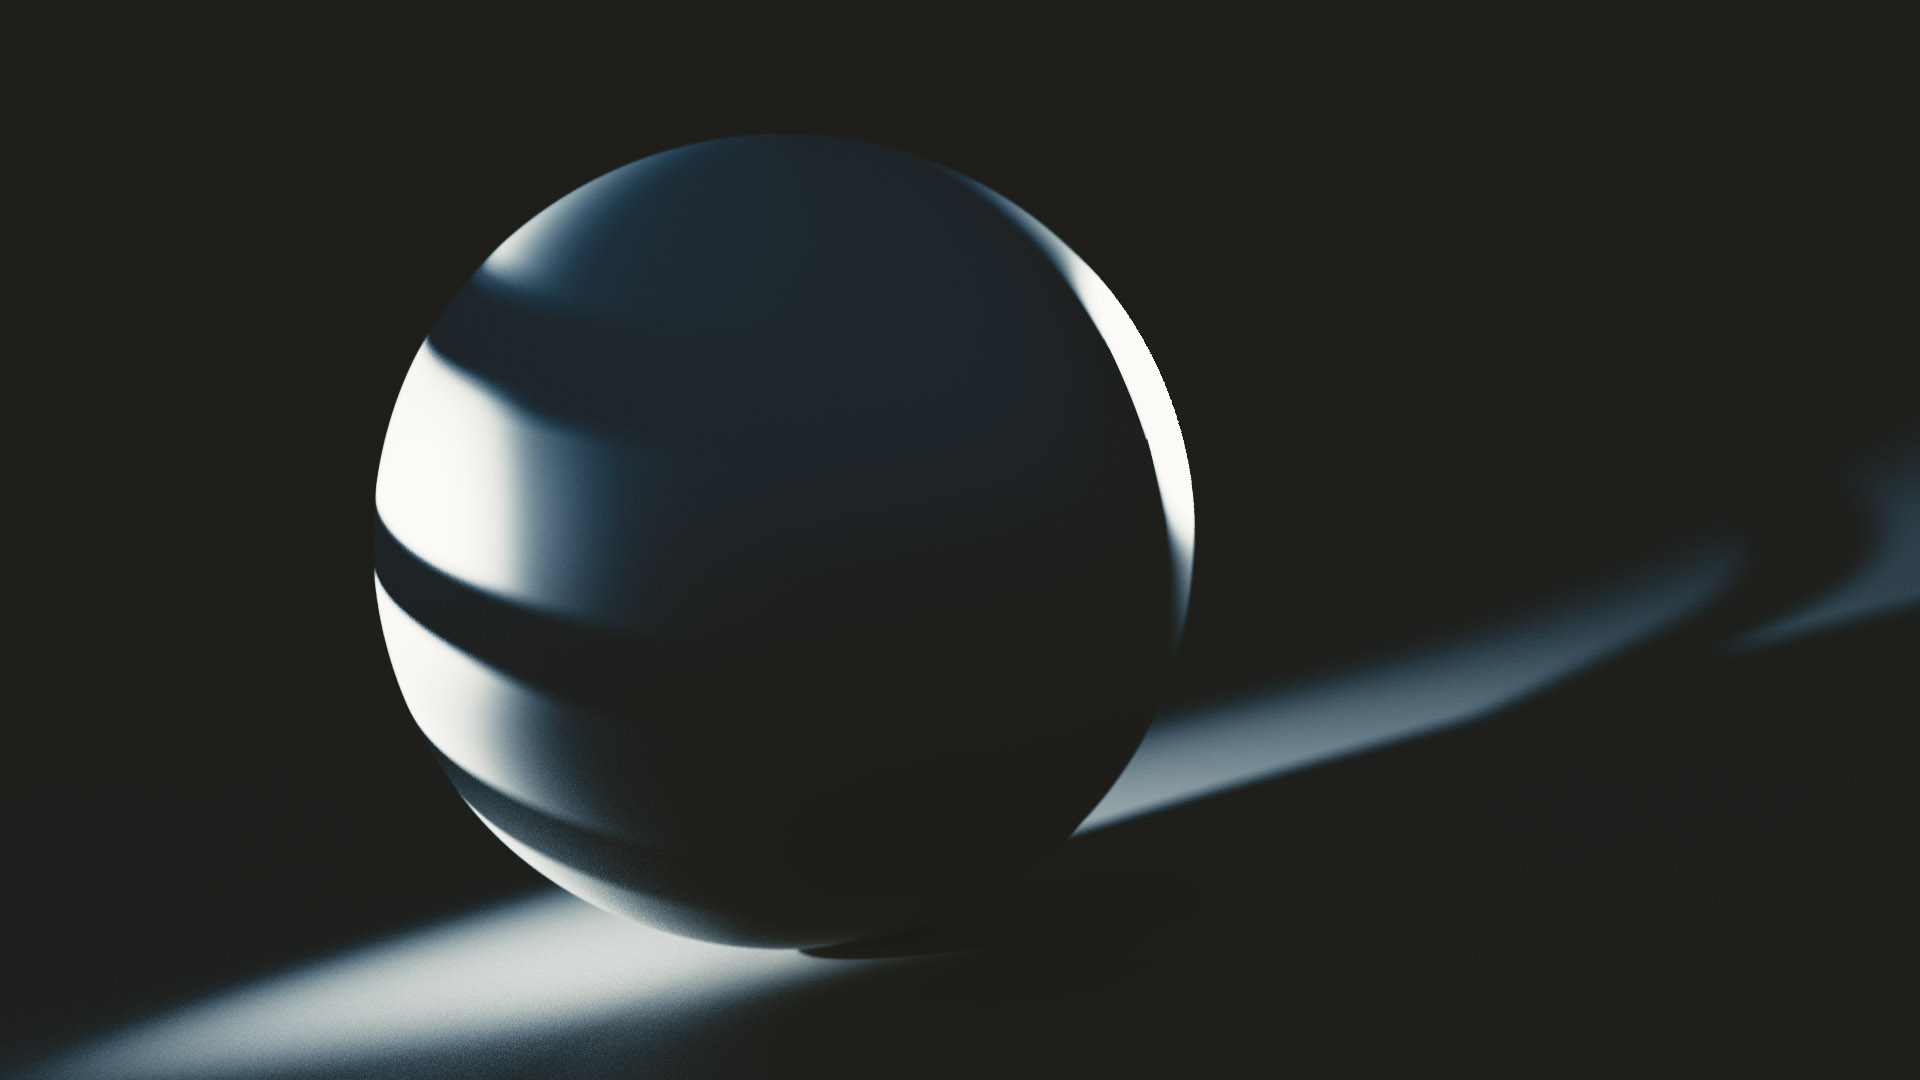
This style of lighting is all about a high contrast ratio between lit and dark areas (for example, we can measure the contrast as 8:1. In case of high key lighting, this figure will be 2:1).
How to Set Up Low Key Lighting in Blender using Just One Lamp?
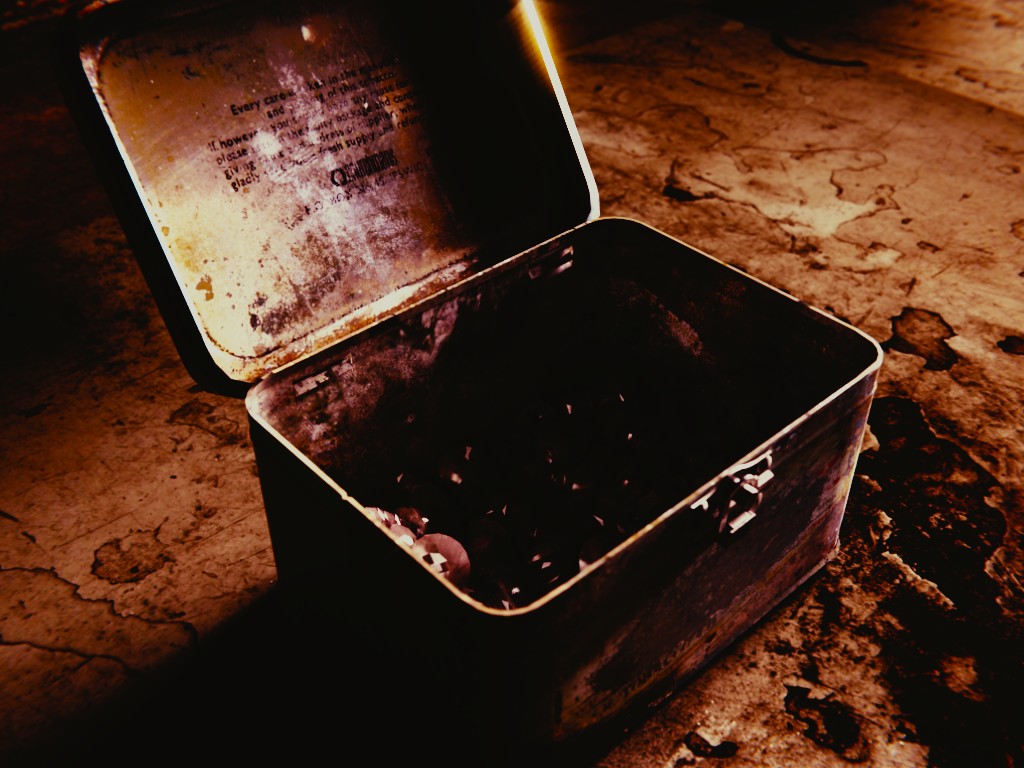
Often you can get away with just one lamp to send the shivers down the viewer’s spine, and that’s encouraging and terrifying at the same time.
Encouraging, because you have to worry only about one thing, that is the light source.
Terrifying, because everything depends on a skillful placement of that one thing.
1. Start pitch-dark
2. Use dominant light source
3. Block the part of light using gobo
One Point Lighting. When Less is More
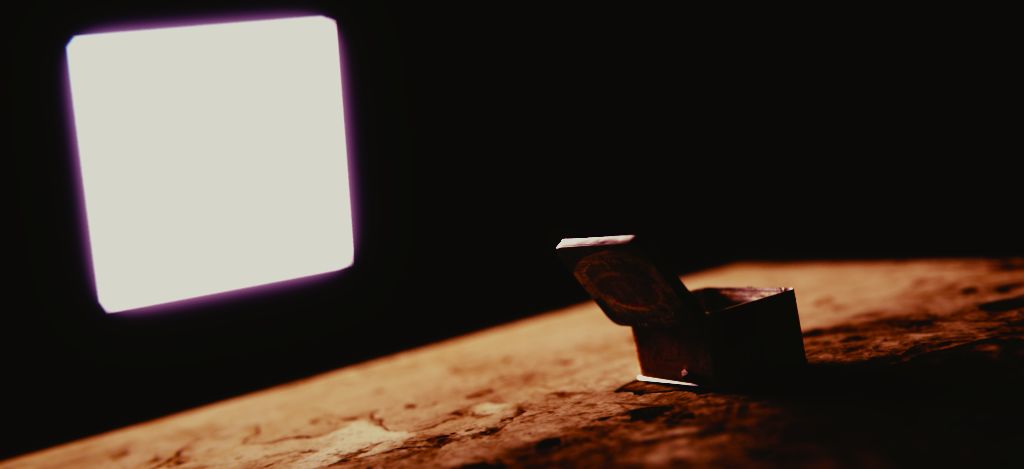
Often, one strong light is all we need to create an appealing image. For me, it connotes the theatrical spotlighting technique, which is quite cool.
Moreover, I think that minimal approach sparks the creativity. When we have to find just one angle for our light, we may very well look for the best angle!
The trick is to emphasize the silhouette of the model, as well as its depth and volume.
Or in case of interior, you may spill light on some part of it, while letting other parts stay in shadow. Like I did with surrealistic and poorly motivated interior below.
Edge Lighting. Revealing Nightmarish Creatures
Edge lighting means that we spill the light from behind the subject, to reveal its edges.
(Of course, that doesn’t mean we can’t place the lamp slightly to the side).
Have you ever heard photographers talking about shaping with light? That’s exactly what we want to achieve in low key scenario.
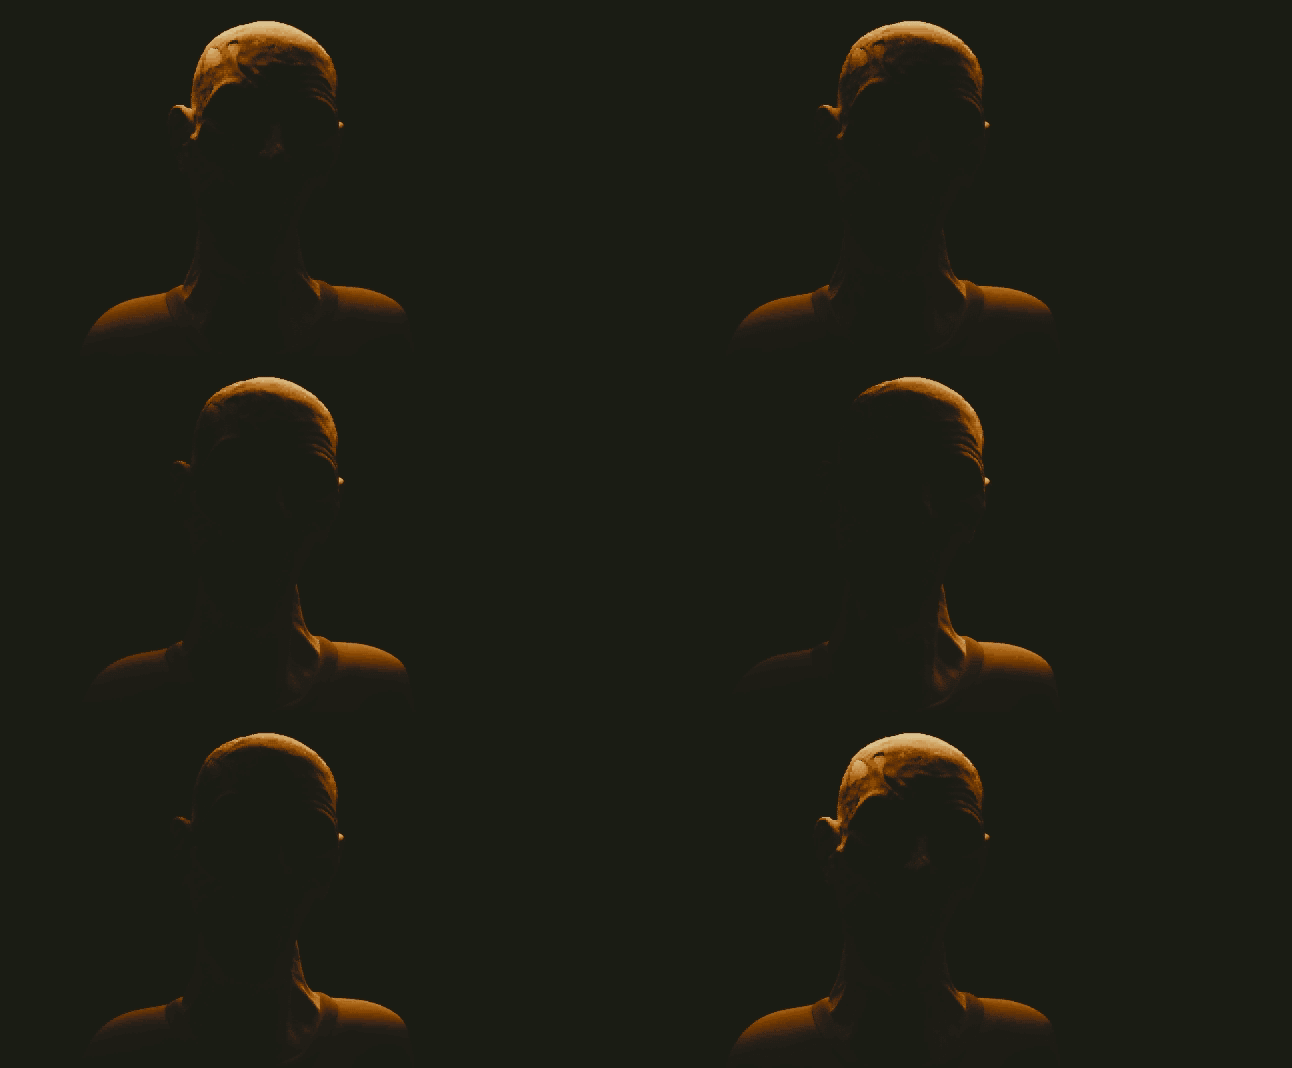
Reveal silhouette. Reveal form. Reveal texture. Reveal that nightmarish fiend outline, while leaving everything else in below-middle-gray zone. Or even in complete darkness.
Oh, and before we go ahead, here is one thing to note. James Gurney puts it very well:
“Edge light is not just a thin white line around the form.”
Murderer’s Shadow in a Hard Light. Film Noir Effects
Black film is a literal meaning of this genre, and among other things (because Hollywood techniques serve many functions), it refers to low key lighting scheme.
When dealing with lighting scenario like this, I want to encourage you to use a small and strong light source to achieve so called hard light.
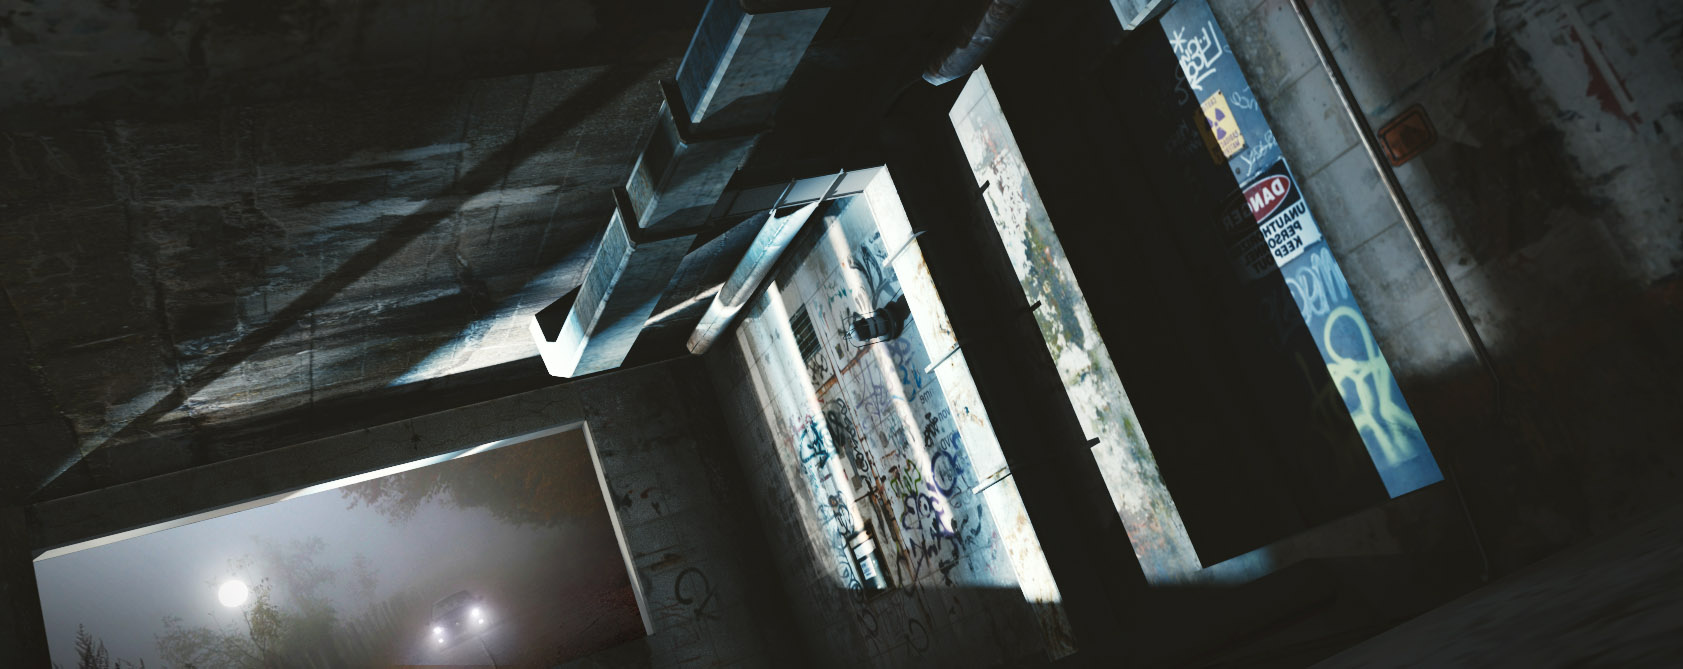
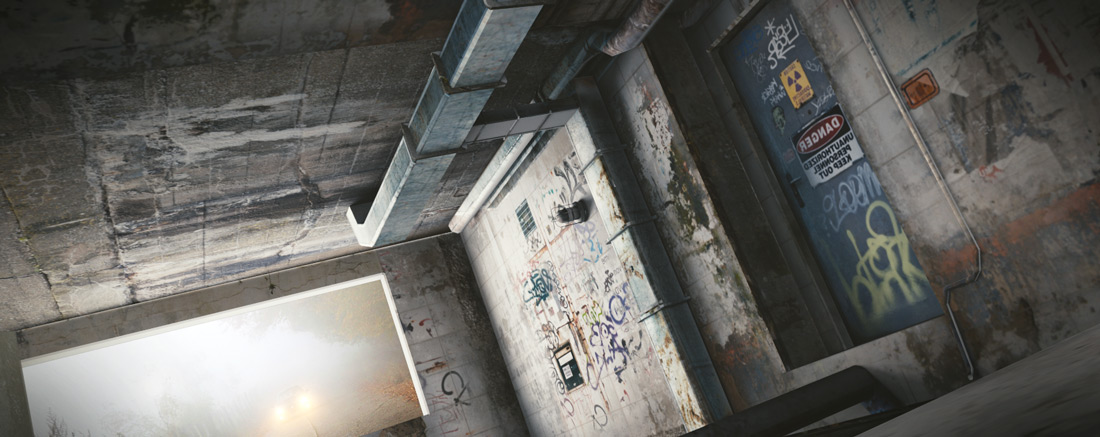
Do you remember Film Noir close-ups and how thick and pronounced were shadows? Hard light works wonders with low key lighting.
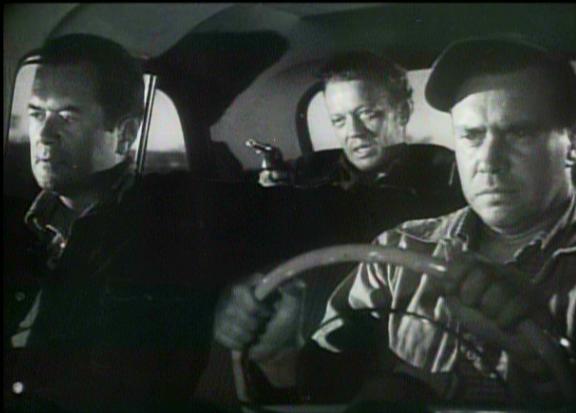
Indeed, when dealing with a high contrast stuff, you would want to have a precise control over the hotspot of the light source.
Interestingly, hard light is the way do go when creating a vintage look, because the early photographers had much less advanced lighting tech at their disposal. Thus, shadows used to be harsh.
“Use hard light from the sides. Diffusion panels are a modern photographic tool.” – Robert Morissey, Master Lighting Guide for Commercial Photographers.
One Hollywood Lighting Technique, Four Functions.
As Patrick Keating emphasizes in Hollywood Lighting from the Silent Era to Film Noir, Hollywood lighting techniques always have been multifunctional.
For example, here are low key lighting functions in Film Noir:
1. Sets right mood for the story.
2. Creates the modelling effect for the tough-guy leads.
3. Adds realistic details, motivated by environment, like shadows from the blinds.
4. Invokes the established convention of depicting crime scenes, etc.
Bonus tips:
Learn about blocking light using a gobo or a light texture.

Bonus Tip: Introduction to Game Level Texturing
Lighting For Nerds. Share the Joy by Clicking on Buttons Below the Article!
Your support means a ton for me. Go ahead and share the info about Lighting Open Project with your friends. Believe me, it will be very helpful.



CVETKO
Hi Gleb, can you tell us best way to make money with Blender?
Gleb Alexandrov
Ah, that seems like a tutorial subject in itself. Or even a book? 😉
But here is a few ways, just from the top of my head:
1. Make pretty images for interesting projects
2. Make assets for games
3. Create architectural renders and interior designs
4. Write articles for CG-related magazines that are interested in Blender experience
5. Freelance for various stuff
6. Make something unbelievable and unthinkable
The last paragraph seems to be the best way.
CVETKO
Thanks for answering Gleb, i undrestand, and i think in this moment just you can do last paragraph 😀 you’re the best! 😀 I hope that in the future will be easier to make money with Blender. 🙂
Reynante M. Martinez
Amazing guide as always, Gleb! Lighting is indeed one of the most overlooked aspects of an image, but giving it the attention it deserves will transform a dull scene into a more dramatic one.
Cheers! 🙂
– Reyn
Gleb Alexandrov
Thanks so much, Reyn!
Bintang Senja
Thank you very much Gleb, just great as usual, but how about large scene lighting, where we have some trees2, moon, some characters, fire flame, burned forest in the background, all in night time. Does one lamp make sense ?
Gleb Alexandrov
Of course, one lamp is not a universal recipe. And yeah, when you have something burning in the scene, it’s almost unavoidable to have dozens of light sources. In my point of view, flame usually produces ‘hard’ lighting from many directions at once and with different throw patterns.
Bintang Senja
Thanks ! I’m very excited about this lighting topic, what topic for the next post ? I start thinking how I can contribute to this open project.
Well done Gleb 🙂
Gleb Alexandrov
The next one, probably, will be about zero point lighting. Not sure though, still researching the subject.
And the best way to contribute to this project is to share what you like with others 😉
Pingback: Introduction to Low Key Lighting
Jon Bowden
thanks for the tips, had a go add trying to add mood to a quickly sculpted form 🙂
Gleb Alexandrov
That guy creeps me out already.
Pingback: The Hitch-Hiker (1953) Ida Lupino | Journeys in Darkness and Light
Douglas
One good use of low key lighting is to hide the fact that your textures or models suck. If it is all in shadows, no one will know. This is often used in SF films because it is cheaper than making really great sets that would do well in bright well lit scenes.
103theFallen
Gleb, that was awesome! 😀 Now I feel like an actual 3d artist . . . though I’m not
https://uploads.disquscdn.com/images/0b730e1e0af32da4bc30a295a198ee866994773a4c660b28f4b7b518f303d2d7.png